Classic Decoupage Formula: Master the Art of Decoupage and Mod Podge

Mod Podge Original Matte Formula
The classic all-in-one sealer, glue, and finish that started it all. This matte formula provides a smooth, non-shiny finish perfect for traditional decoupage projects on wood, fabric, and paper surfaces.
Key Features:
- All-in-one sealer, glue, and finish
- Matte finish for classic look
- Dries clear and permanent
- Water-based and non-toxic
- Easy soap and water cleanup
- Works on multiple surfaces
- Quick 15-20 minute drying time
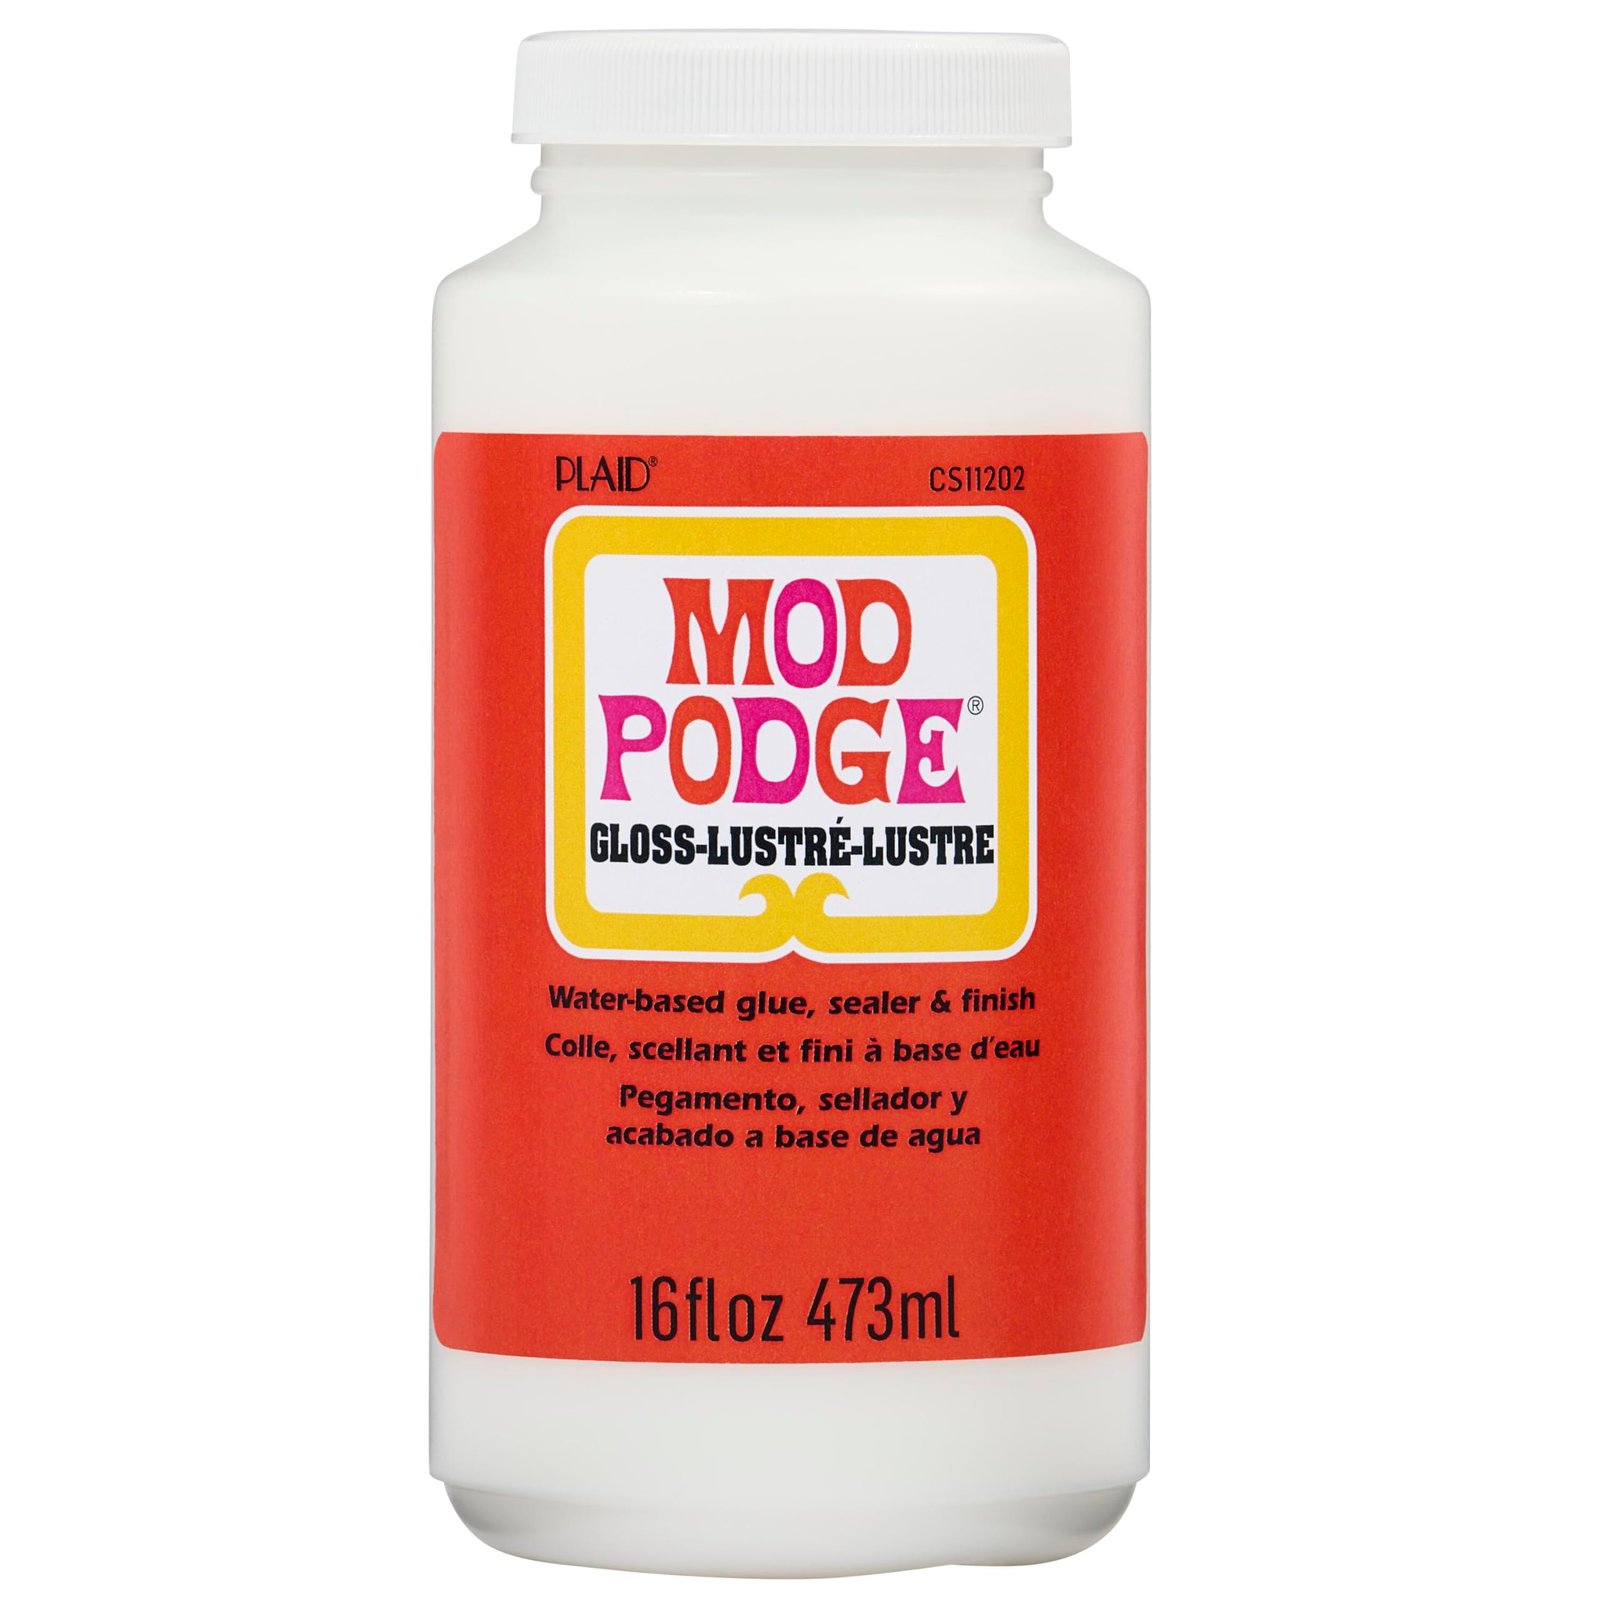
Mod Podge Gloss Formula
The shiny counterpart to the matte formula, offering a glossy protective finish. Ideal for projects requiring extra durability and a polished appearance, this formula enhances colors while providing superior protection.
Key Features:
- High-gloss protective finish
- Enhances color vibrancy
- Superior durability
- All-in-one adhesive and sealer
- Water-resistant when cured
- Non-toxic and safe
- Smooth brush-on application
- Perfect for decorative items
Understanding the Classic Decoupage Formula with Decoupage and Mod Podge
The art of decoupage has evolved significantly since its origins in 17th-century France, and the introduction of modern formulas has revolutionized this timeless craft. When discussing decoupage and Mod Podge, we’re exploring the perfect marriage of traditional technique with contemporary convenience.
The classic decoupage formula represents the foundation of all modern decoupage work. This specially formulated adhesive serves three crucial functions: it acts as a glue to attach paper or fabric to surfaces, provides a protective sealer, and creates a beautiful finish that enhances your project’s appearance.
What Makes the Classic Formula Special
Decoupage and Mod Podge work together through a unique chemical composition that allows for superior adhesion while maintaining flexibility. Unlike traditional glues that can become brittle over time, the classic formula remains slightly flexible, preventing cracking and peeling.
The water-based formula ensures easy cleanup and safe use in any crafting environment. This makes decoupage and Mod Podge projects accessible to crafters of all ages and skill levels, from beginners to seasoned artists.
Essential Techniques for Perfect Decoupage and Mod Podge Results
Mastering decoupage and Mod Podge techniques requires understanding the proper application methods and timing. The classic formula works best when applied in thin, even coats using smooth brush strokes that follow the same direction.
Start by preparing your surface with light sanding if working with wood, or cleaning thoroughly if using glass or metal. Apply a thin base coat of the formula to your surface, then position your decorative elements while the adhesive is still slightly tacky.
The Three-Layer Method
Professional results with decoupage and Mod Podge come from the traditional three-layer application. First, apply the base coat to secure your decorative materials. Second, add a sealing coat once the base layer is completely dry, typically after 15-20 minutes.
The final protective coat should be applied after the sealing coat has cured for at least one hour. This three-layer approach ensures maximum durability and the characteristic smooth finish that makes decoupage and Mod Podge projects so appealing.
Avoiding Common Application Mistakes
One of the most frequent errors in decoupage and Mod Podge work is applying the formula too thickly. Heavy application can cause clouding, extended drying times, and an uneven finish that detracts from your project’s overall appearance.
Always use a foam brush or high-quality synthetic brush to minimize brush marks. Work quickly but carefully, as the formula begins setting within minutes of application.
Creative Project Ideas Using Decoupage and Mod Podge Classic Formula
The versatility of decoupage and Mod Podge opens endless possibilities for creative expression. Home décor projects represent some of the most popular applications, from transforming plain wooden boxes into elegant storage solutions to creating custom picture frames that perfectly complement your interior design.
Furniture makeovers showcase the transformative power of decoupage and Mod Podge beautifully. Old dressers, tables, and chairs can receive new life through carefully applied decorative papers, creating unique pieces that reflect your personal style while providing functional value.
Seasonal and Holiday Projects
Seasonal decorating becomes more personal and meaningful with decoupage and Mod Podge techniques. Create custom ornaments using lightweight wooden shapes and festive papers, or design seasonal centerpieces that can be stored and reused year after year.
Holiday gift-giving takes on special significance when you present handcrafted items made with decoupage and Mod Podge. Personalized photo albums, decorated storage containers, and custom bookmarks show recipients the time and care invested in their gifts.
Children’s Craft Projects
The safety and ease of use make decoupage and Mod Podge perfect for supervised children’s crafting activities. Simple projects like decorating pencil holders, creating personalized notebooks, or making custom magnets provide excellent introductions to crafting techniques.
School projects benefit greatly from decoupage and Mod Podge applications, whether creating historical timeline displays, science fair presentations, or artistic interpretations of literature assignments.
Surface Preparation and Compatibility for Decoupage and Mod Podge
Success with decoupage and Mod Podge depends heavily on proper surface preparation. Different materials require specific preparation techniques to ensure optimal adhesion and longevity of your finished project.
Wood surfaces should be lightly sanded with fine-grit sandpaper to create slight texture for better adhesion. Remove all dust with a tack cloth before beginning your decoupage and Mod Podge application. Raw wood accepts the formula beautifully, while previously painted or stained surfaces may require additional preparation.
Working with Various Materials
Glass and ceramic surfaces need thorough cleaning with alcohol or degreasing agents to remove any residual oils or cleaning product residues. The smooth surface of glass provides excellent results with decoupage and Mod Podge, creating professional-looking projects with minimal effort.
Metal surfaces require special attention to prevent adhesion problems. Light sanding followed by primer application ensures your decoupage and Mod Podge project will adhere properly and resist peeling or flaking over time.
Fabric and Paper Considerations
When working on fabric surfaces, choose tightly woven materials for best results. Loose weaves can create uneven application and may not provide adequate support for decorative elements. Pre-wash fabric items to remove sizing and prevent shrinkage after project completion.
Paper surfaces offer unlimited creative possibilities with decoupage and Mod Podge. From cardboard boxes to papier-mâché forms, paper accepts the classic formula readily and provides excellent results with minimal preparation required.
Troubleshooting and Maintenance for Decoupage and Mod Podge Projects
Even experienced crafters occasionally encounter challenges when working with decoupage and Mod Podge. Understanding common issues and their solutions helps ensure successful project completion and long-term satisfaction with your finished pieces.
Cloudy or milky appearance often results from applying the formula too thickly or working in high humidity conditions. If cloudiness occurs, allow complete drying and apply additional thin coats until clarity returns to your decoupage and Mod Podge finish.
Dealing with Bubbles and Wrinkles
Air bubbles trapped under decorative elements can mar the smooth finish characteristic of quality decoupage and Mod Podge work. Use a brayer or bone folder to smooth out bubbles before the adhesive sets completely.
Wrinkles in paper elements usually indicate the paper absorbed moisture from the adhesive and expanded. Using papers specifically designed for decoupage, or sealing thin papers before application, prevents this common problem in decoupage and Mod Podge projects.
Long-term Care and Maintenance
Proper care extends the life and beauty of your decoupage and Mod Podge creations significantly. Dust regularly with a soft, lint-free cloth, and avoid harsh chemicals or abrasive cleaners that could damage the protective finish.
For items that receive heavy use, such as trays or storage boxes, consider applying additional protective coats annually to maintain the integrity of your decoupage and Mod Podge finish.
Advanced Tips and Professional Results with Decoupage and Mod Podge
Achieving professional-quality results with decoupage and Mod Podge requires attention to detail and mastery of advanced techniques. Temperature and humidity control play crucial roles in formula performance, with ideal conditions being 70-75°F with moderate humidity levels.
Layering different decorative elements creates depth and visual interest in your projects. Plan your design carefully, applying larger background elements first, then building up with smaller details using multiple applications of decoupage and Mod Podge between layers.
Creating Texture and Dimension
Advanced practitioners of decoupage and Mod Podge often incorporate textural elements to add dimension to their projects. Fabric pieces, pressed flowers, or even lightweight three-dimensional objects can be successfully incorporated using proper layering techniques.
Edge sealing prevents moisture infiltration and ensures long-term durability. Pay special attention to edges and corners where decorative elements meet, applying extra coats of decoupage and Mod Podge to create complete protection.
Color Coordination and Design Principles
Successful decoupage and Mod Podge projects often follow basic design principles of color theory and composition. Consider the relationship between your decorative elements and the base surface to create harmonious, visually appealing results.
Pattern mixing requires careful consideration of scale and color relationships. When combining multiple patterns in decoupage and Mod Podge work, ensure one pattern dominates while others provide supporting visual interest without competing for attention.
Frequently Asked Questions
Mastering Your Decoupage and Mod Podge Journey
The classic decoupage formula has transformed countless ordinary objects into extraordinary works of art, and mastering decoupage and Mod Podge techniques opens doors to unlimited creative possibilities. From simple beginner projects to complex artistic endeavors, this versatile medium adapts to every skill level and creative vision.
Success with decoupage and Mod Podge comes through practice, patience, and attention to detail. Each project teaches valuable lessons about surface preparation, application techniques, and design principles that enhance future creative endeavors. The forgiving nature of the medium allows for experimentation and learning without fear of irreversible mistakes.
Whether you’re breathing new life into tired furniture, creating personalized gifts, or developing your artistic skills, decoupage and Mod Podge provide the foundation for lasting, beautiful results. The satisfaction of completing a handcrafted project using these time-tested techniques creates both functional items and cherished memories that endure far beyond the crafting process itself.
Embrace the creative journey that decoupage and Mod Podge offer, and discover how this classic formula continues to inspire crafters, artists, and hobbyists around the world. Your next masterpiece awaits, limited only by your imagination and willingness to explore the endless possibilities this remarkable medium provides.